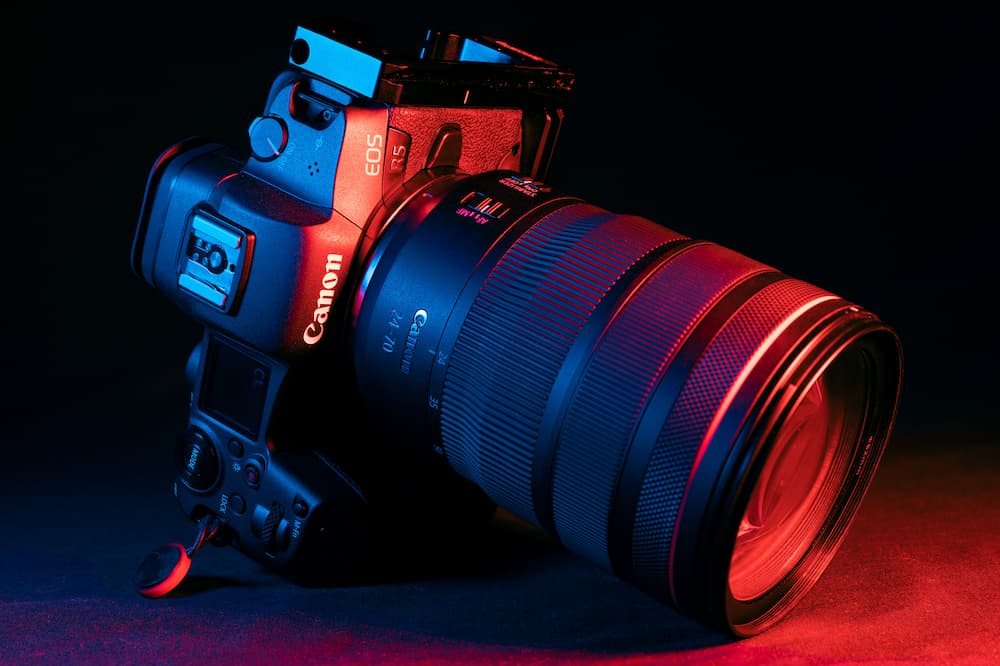
The pheasant’s breast shows a better advantage when photographed by an artist. The soft, warm-toned print is the result of proper exposure and development. Correctly exposed negatives necessarily produce accurate prints; but poor printing can transform a good negative into bad results.
Until recently, practically every photographic expert included in his list of essentials for successful commercial photography “good lenses.” It was generally assumed that if you wanted fine pictures you had to use fine lenses; since free hand portrait work needs high definition, it required the finest lenses obtainable. But several years ago it occurred to me that there were other factors quite as important as lens quality in securing fine commercial photographs, so I began an investigation which has led me to the conclusion that a good lens is often responsible for poor pictures, while a cheap lens may produce beautiful ones. I have proved conclusively that it isn’t the kind of glass in the lens-it is how you use it.
The Lens Defects
This is illustrated by the fact that good lenses are often rejected because of observable defects, while poor lenses produce excellent results-the best proof that it isn’t the quality of glass in the lens that makes fine pictures. This becomes evident when you realize that every lens has its own individual characteristics-is either a plus or minus for this particular subject, and can never be made over into another kind of lens. For example, you might shoot an interior with f/8. If you had 10 different cameras with 10 different lenses to use on this same scene, I’ll guarantee that not one negative would show any two exactly alike. Even though it were possible to replace these faulty lenses by others having the same focal length, the new lenses would not cover exactly the same angle of view. There is only one way to produce identical pictures from a given subject with any two lenses-and that is by duplicating them optically.
The Lens Disadvantages
But defective lenses are not the only causes of faulty pictures in commercial work. A small aperture used in photographing shaded objects may produce good results on some occasions and poor ones at others, because it isn’t always possible to use f/22 or f/32 in photographing such scenes; yet each time you use an aperture smaller than f/16 the resulting negative will reproduce more detail than was actually shown on your model. This condition naturally makes for inaccuracy in making comparisons between negatives and prints in estimating exposure, for when you use too small an opening the negatives do not show the detail that was present in the original scene.
The Lens Advantages
On the other hand, there are many occasions when it’s possible to obtain much better pictures with smaller apertures than is ordinarily supposed. For instance, when photographing foliage against a bright sky it is practically impossible to get good detail unless you use very small openings; yet if these same leaves were photographed against a dark background or in shade they would show considerable detail even though photographed with f/5.6 or f/8. Again, no matter how good your lens may be it will produce poor results under certain conditions-and you can’t tell about these conditions until you make tests. I have proved the point with interior subjects by photographing a man standing in front of a window, and then changing to another camera and lens-with exactly the same lighting arrangement-and photographing the model again from across the room; each negative gave an entirely different effect, yet we had changed only the camera and lens.
The Prototype Lens
Fortunately this doesn’t present any problem because it is possible to establish a standard to which all others may be compared-a lens that will produce good results under almost any condition. It happened quite accidentally that I discovered what this ideal lens really is. In experimenting with flash units some years ago, I used ordinary flash bulbs at first, but as they didn’t give sufficient penetration I tried flash powder. This gave good results, and also eliminated all extraneous shadows-so that any detail in the scene could be accurately judged. When using flash powder it was necessary to use comparatively small apertures; but this didn’t matter because the resulting negatives showed every detail of each scene with wonderful clarity. Subsequently we obtained much better results by using more powerful Miethe and Dietz units and larger lenses and smaller apertures-but we soon found that while some subjects were well suited to these new units others failed completely unless the main light was used instead of fill-in illumination.
The Ideal Lens
Although I had developed standard methods for photographing interiors with models and cameras firmly fixed in place, I still had to use whatever lenses were available. The first camera that I used in photographing interiors with the Miethe was a Speed Graphic with an ordinary lens-and it wasn’t even a short-focus lens! It would have been just about right for taking outdoor pictures, but proved useless indoors where miniature models required very small openings.
